-

Went to the System Three site and couldn’t find their water born urethane (WR-LPU) that i referenced. Apparently, they have stopped making WR-LPU because of an ingredient supply issue. Looks like their replacement product is Pennant, but can’t find much detail on that.
Still find the WR-LPU online, even in gloss. Don’t know if it’s actually available, or just old web pages.
Sam
-
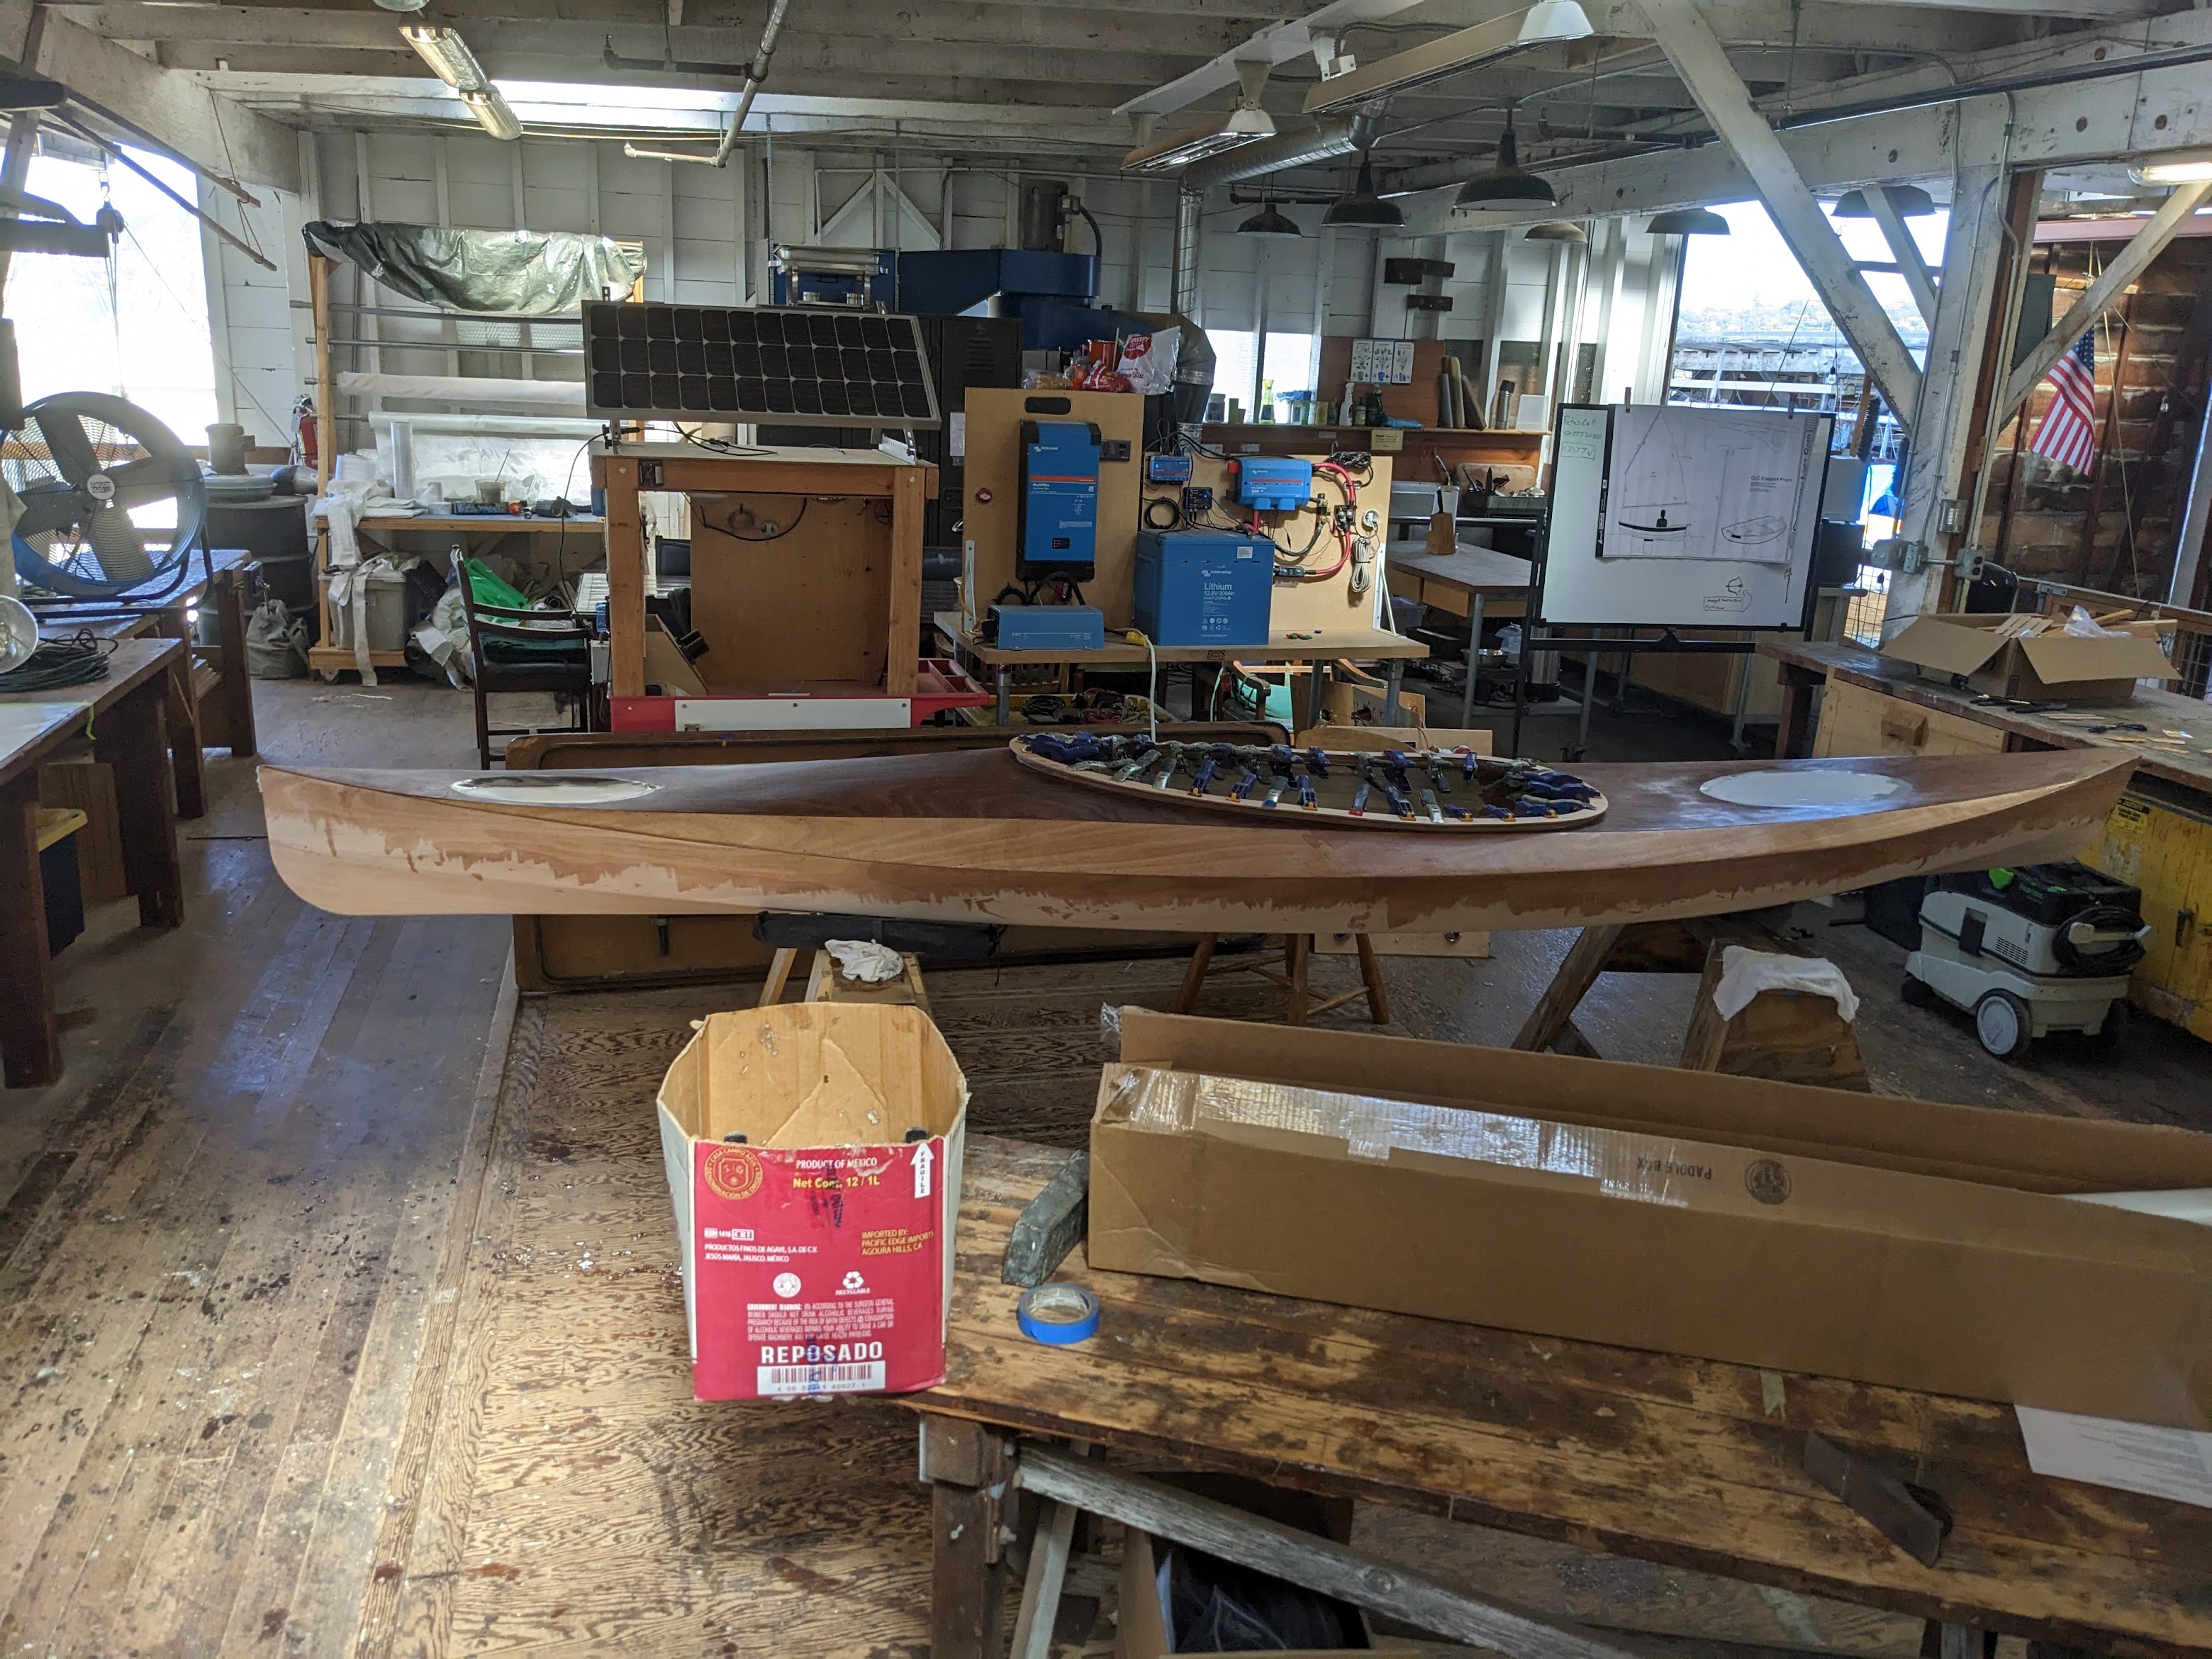
Day 4
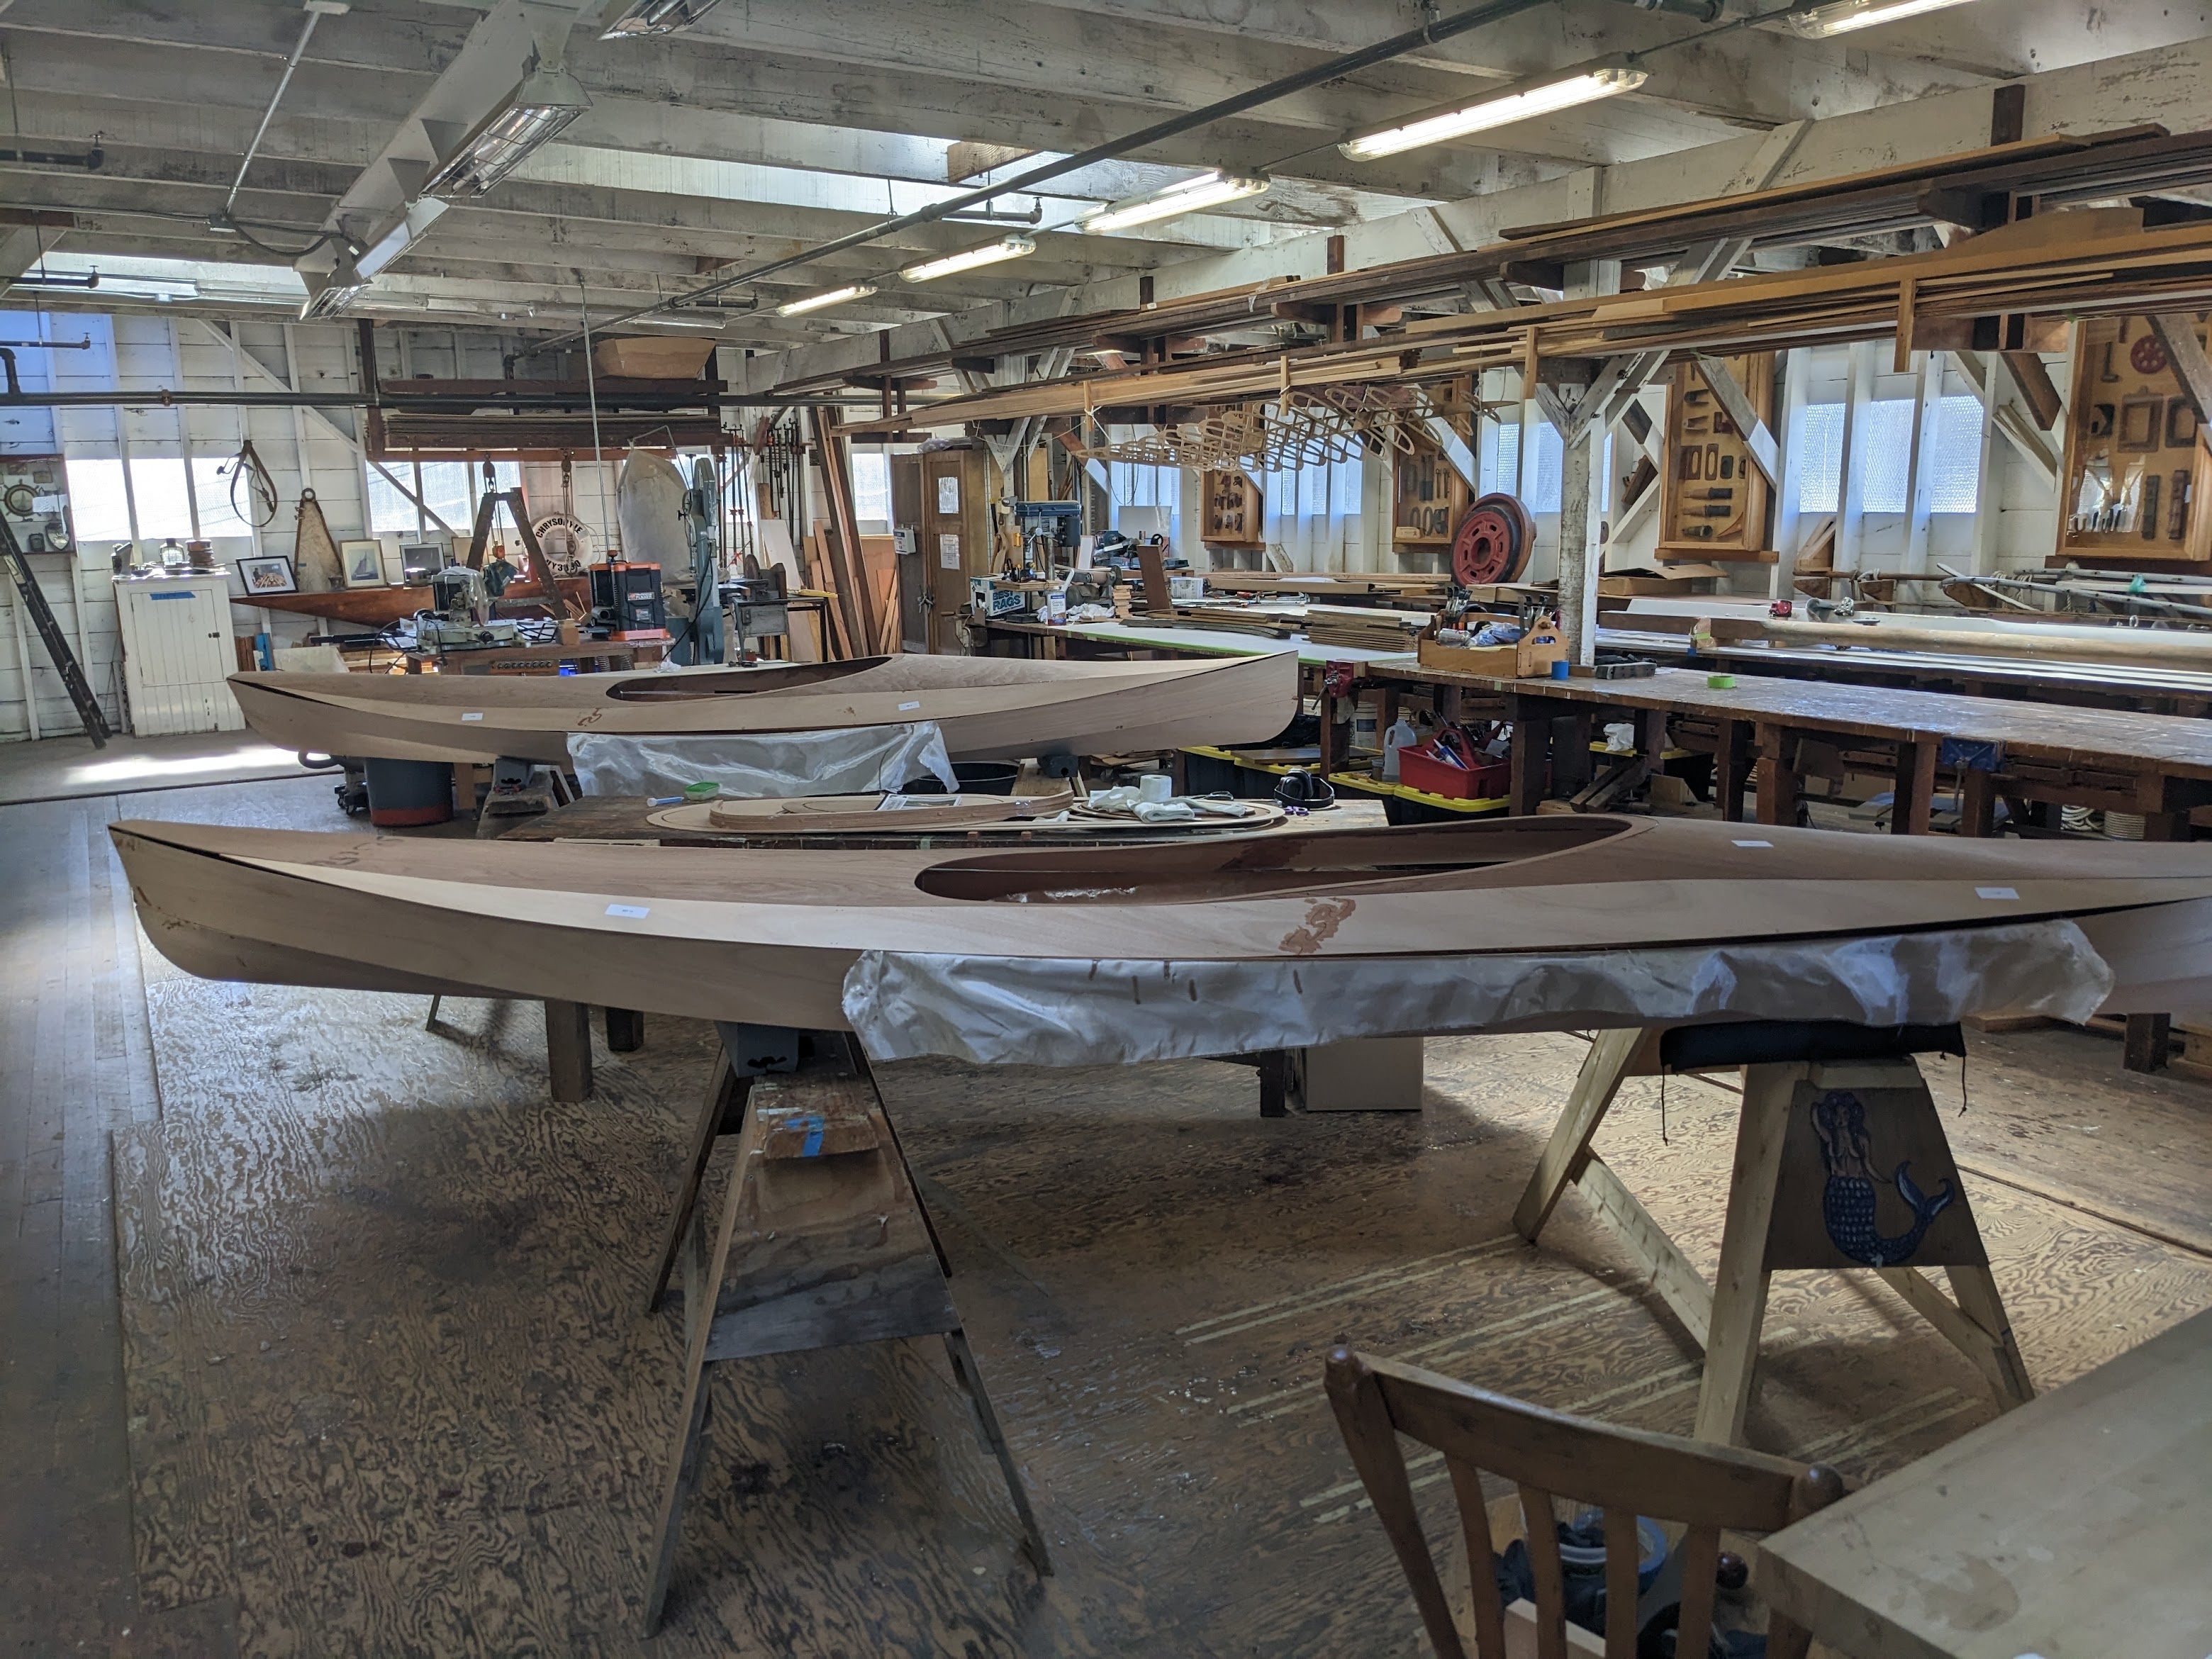
Dry fit the deck to hull and made the decision to cut the hatch holes today. Both the 12' and 14' Wood Ducks are coming together nicely.
Cut away the cockpit fiberglass cloth with a razor and prepped the stiches for the cockpit area.

The pieces of Sapele deck cutout with the jigsaw need to be reused for the hatch covers so the cuts needed to be done carefully. I didn't get good pictures of the deck cutting process concentrating on not messing up this step. After cutting out the hatches, put thickened epoxy fillets on the deck parts. Fiberglass cloth tape the fillets and applied clear epoxy.

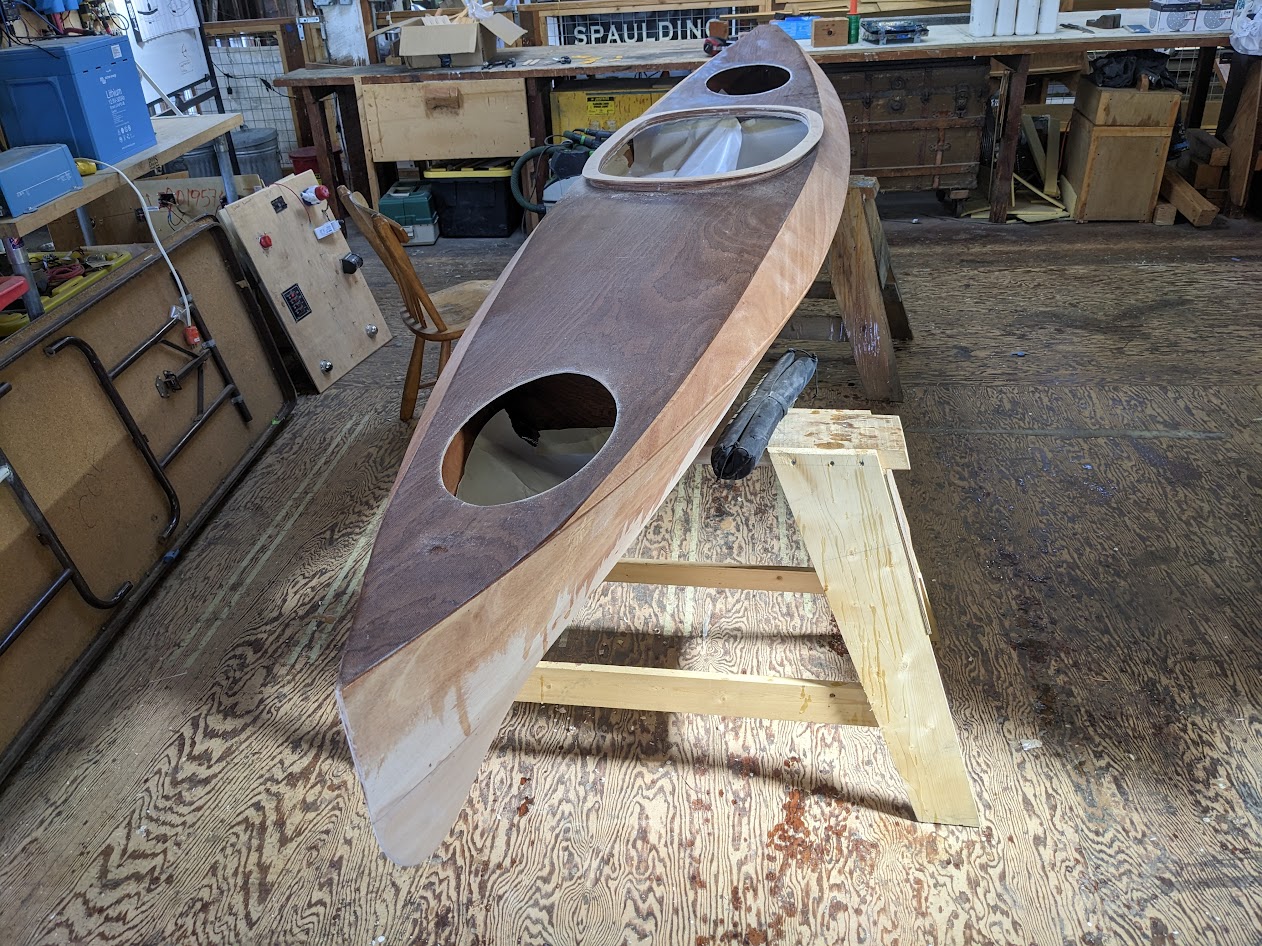
This picture is the 12' Wood Duck edge with Silica thickened epoxy along the edge for the deck to hull glue up.

A little messy getting the deck to hull stitches threaded and tightened. Glad for the extra help during this critical process getting the deck to hull glue up done well. Once this epoxy sets overnight, the hull to deck fitting can't be adjusted. Used a putty knife to get the edged lined up and wrapped with shrink wrap. Applied weights to the deck to hold down the deck to the bulkhead edges with thickened epoxy. Cleaned up with denatured alcohol.
We may be far enough ahead of the progress needed to not need the build day on Saturday.
-
That looks like an absolute blast! I don't know how to do any of that stuff.
-
Nice work Matt.
Looks like a great class !
-
These photos are just terrific, Matt! Will you keep your new boat nearby or at home? I look forward to seeing you when you bring it to the water, christen and splash it. I hope you'll tell us when you plan to do that. Like with Stephen's Scoot, that calls for a party. No reason why you can't christen it in the RYC yard. Lots of friends there and it's close to the bar.
Will there be an apron for when you go on a raid? So many plans for you .... ;-)
-
I'll bring the kayak to Richmond for a launch and paddle from that little beach by Knox-Miller park. We could plan a christening party in April. Probably will store at home in the garage. Have a list of many places to go. My favorite places like Moss Landing Elkhorn Slough, Tomales Bay and around home in San Leandro/Alameda will be first.
Day 5
A couple hours sanding. Rounding over the deck to hull edge and sanding the deck with 80grit. Not too much squeze-out expoxy to knock down with a plane. Still need to do some more sanding tomorrow before the deck gets glassed.

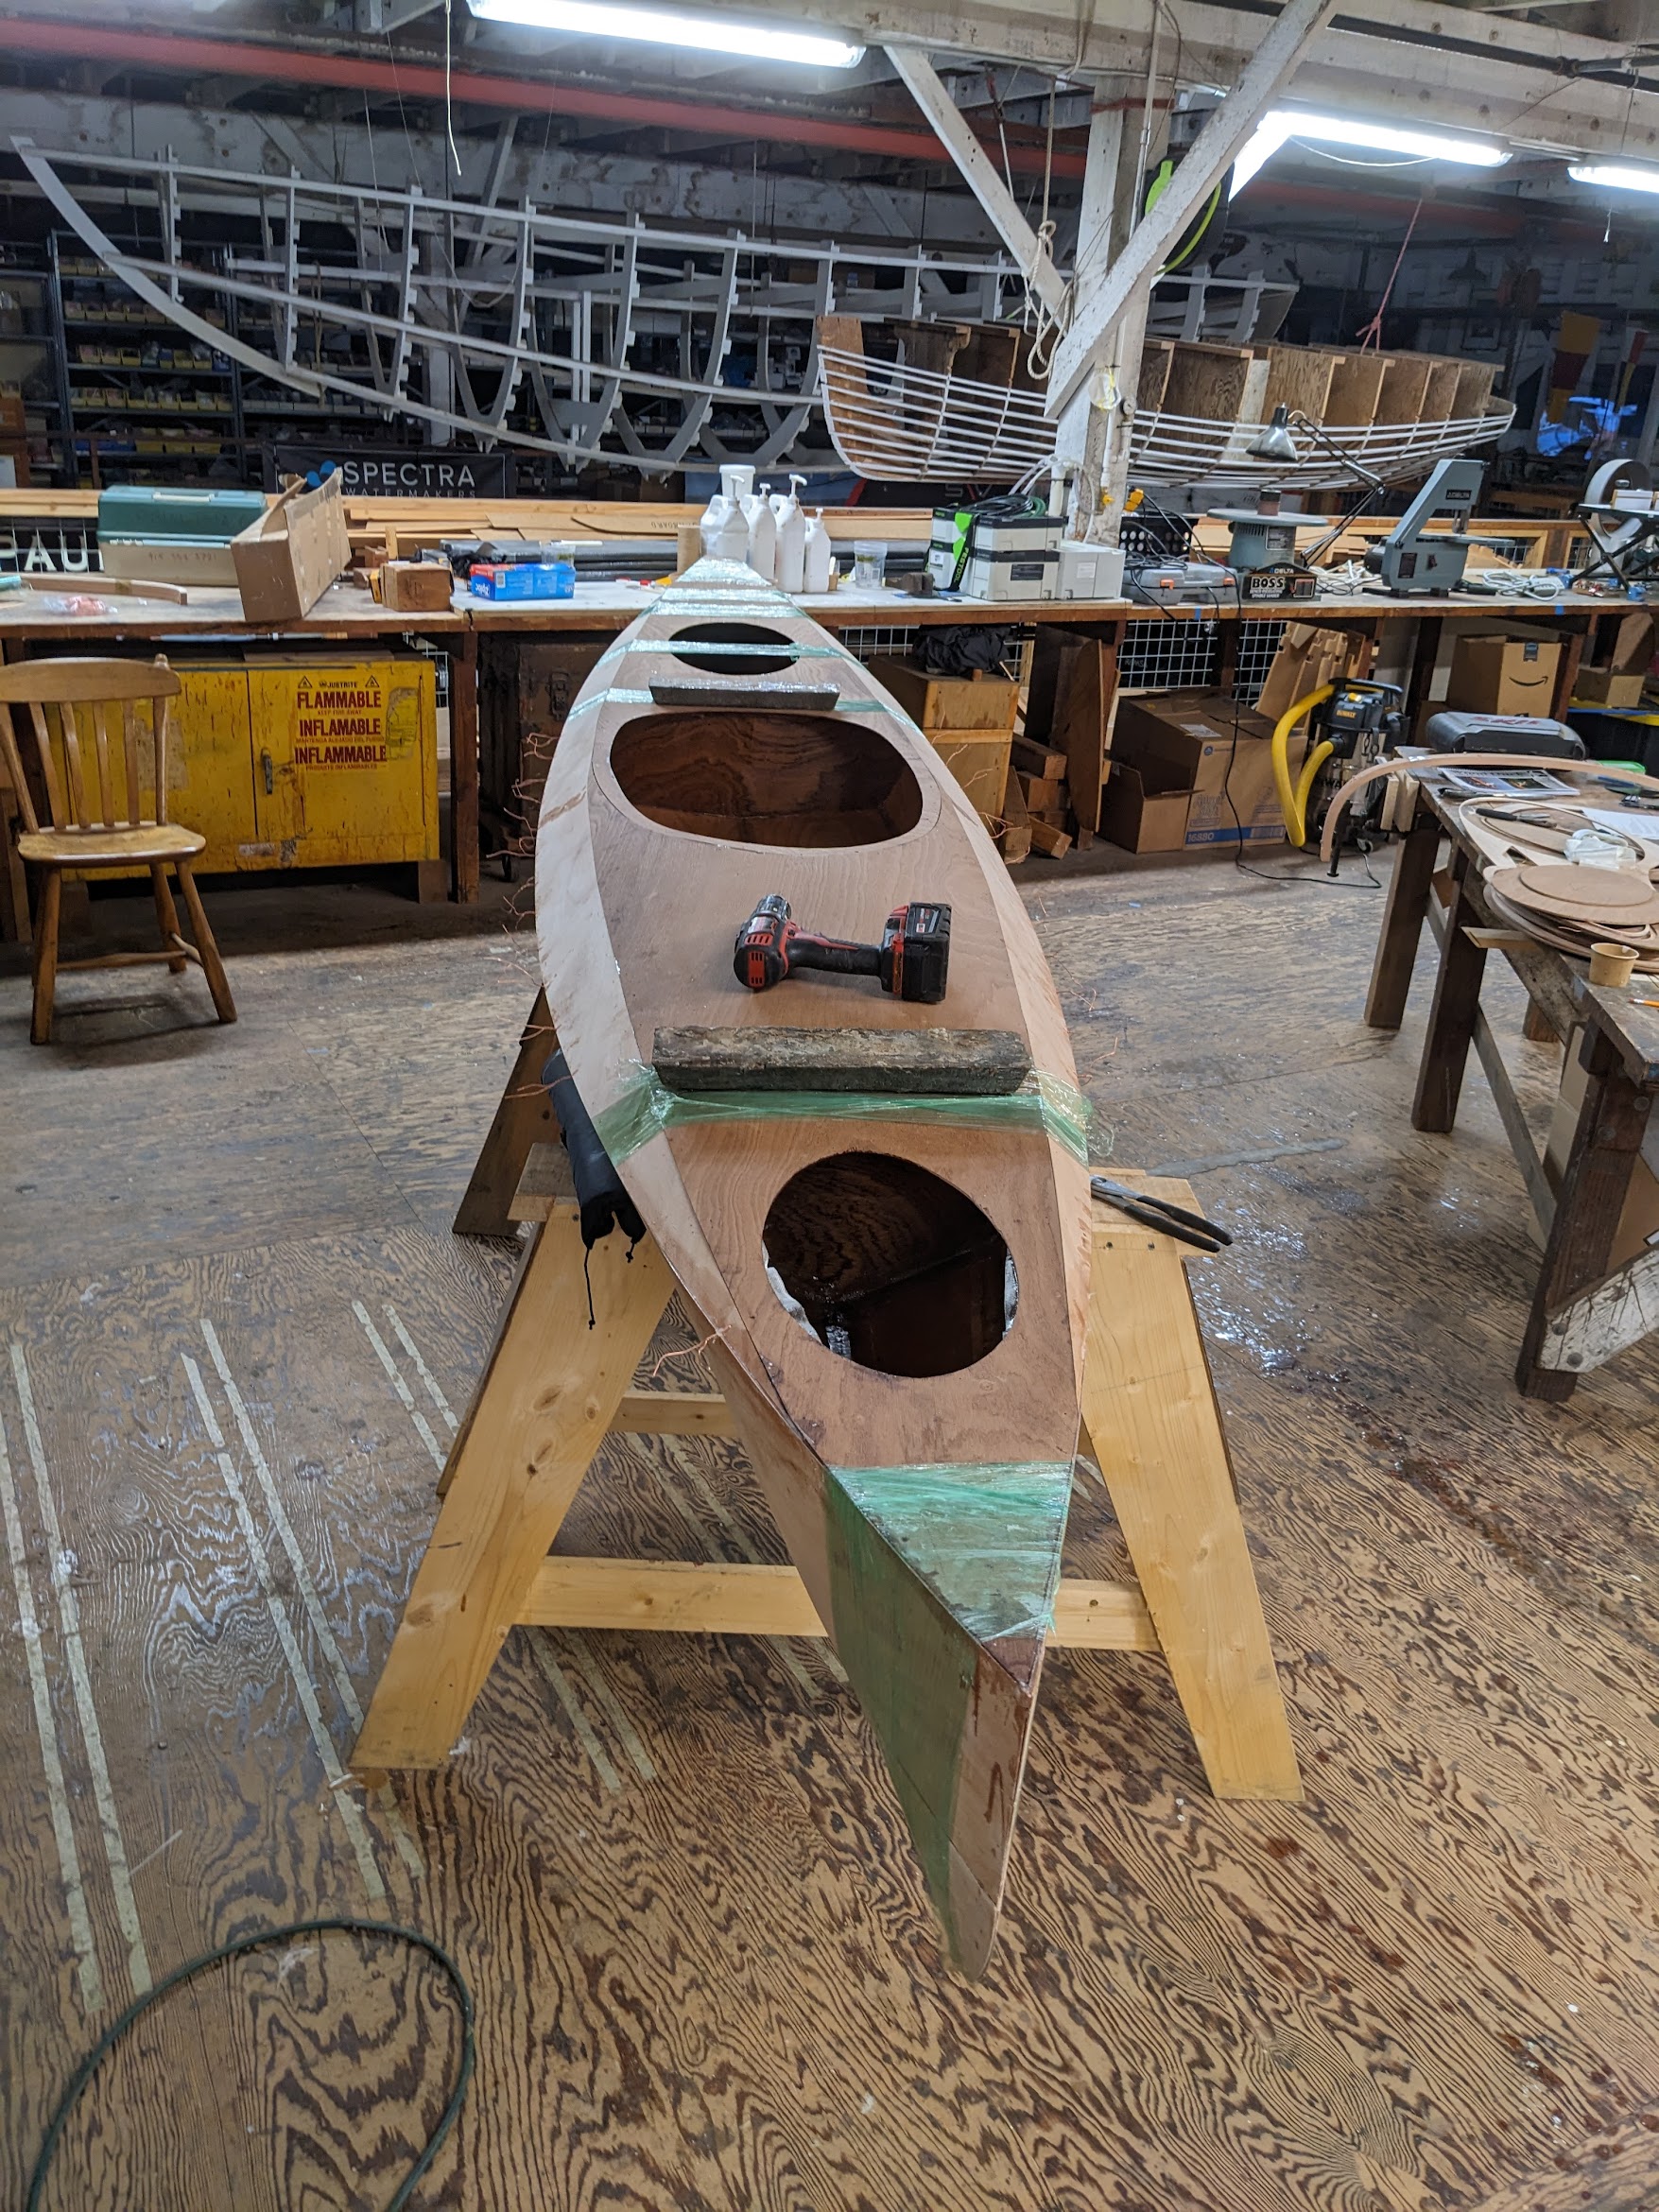
Tipped on the side to fillet the inside seams. The inside hull to deck fillets were a little messy and difficult to get into the bulkheads. The two hatches in the 14' Wood Duck make this a little easier to access than the 12' with no hatch in the front. Used thickened epoxy to fill any voids or areas around the deck and transom that needed it. Fillets around the bulkhead to deck connection on the inside backside of the bulkheads to seal them. Clear epoxy with fiberglass cloth tape presoaked and rolled out over the fillets.

End of day 5 progress is good. Boat is together and ready to work on glassing the deck and putting the combing with all those clamps I borrowed from Stephen.

-
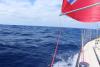
Good luck with the Round the Rocks race. Looks like another beautiful day on the bay.
Last edited by TinkerSSS; 03-16-2024 at 08:56 AM.
-
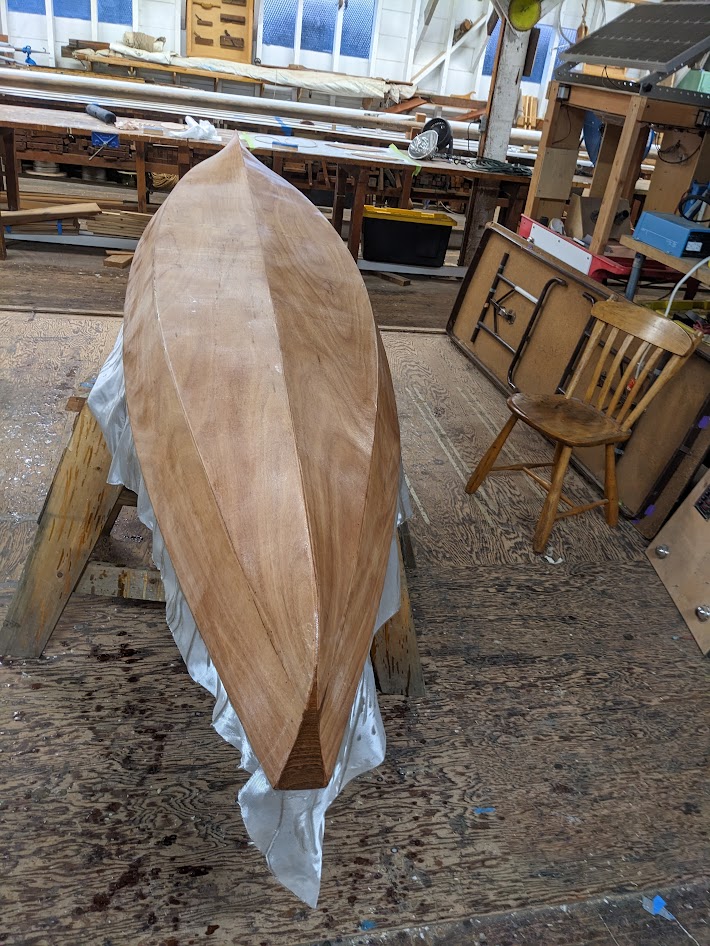
Day 6
Sanding for another couple hours to get the deck final appearance as nice as I could get before it can't be changed. Rounded over the shear edge to help with the fiberglass cloth making the bend.
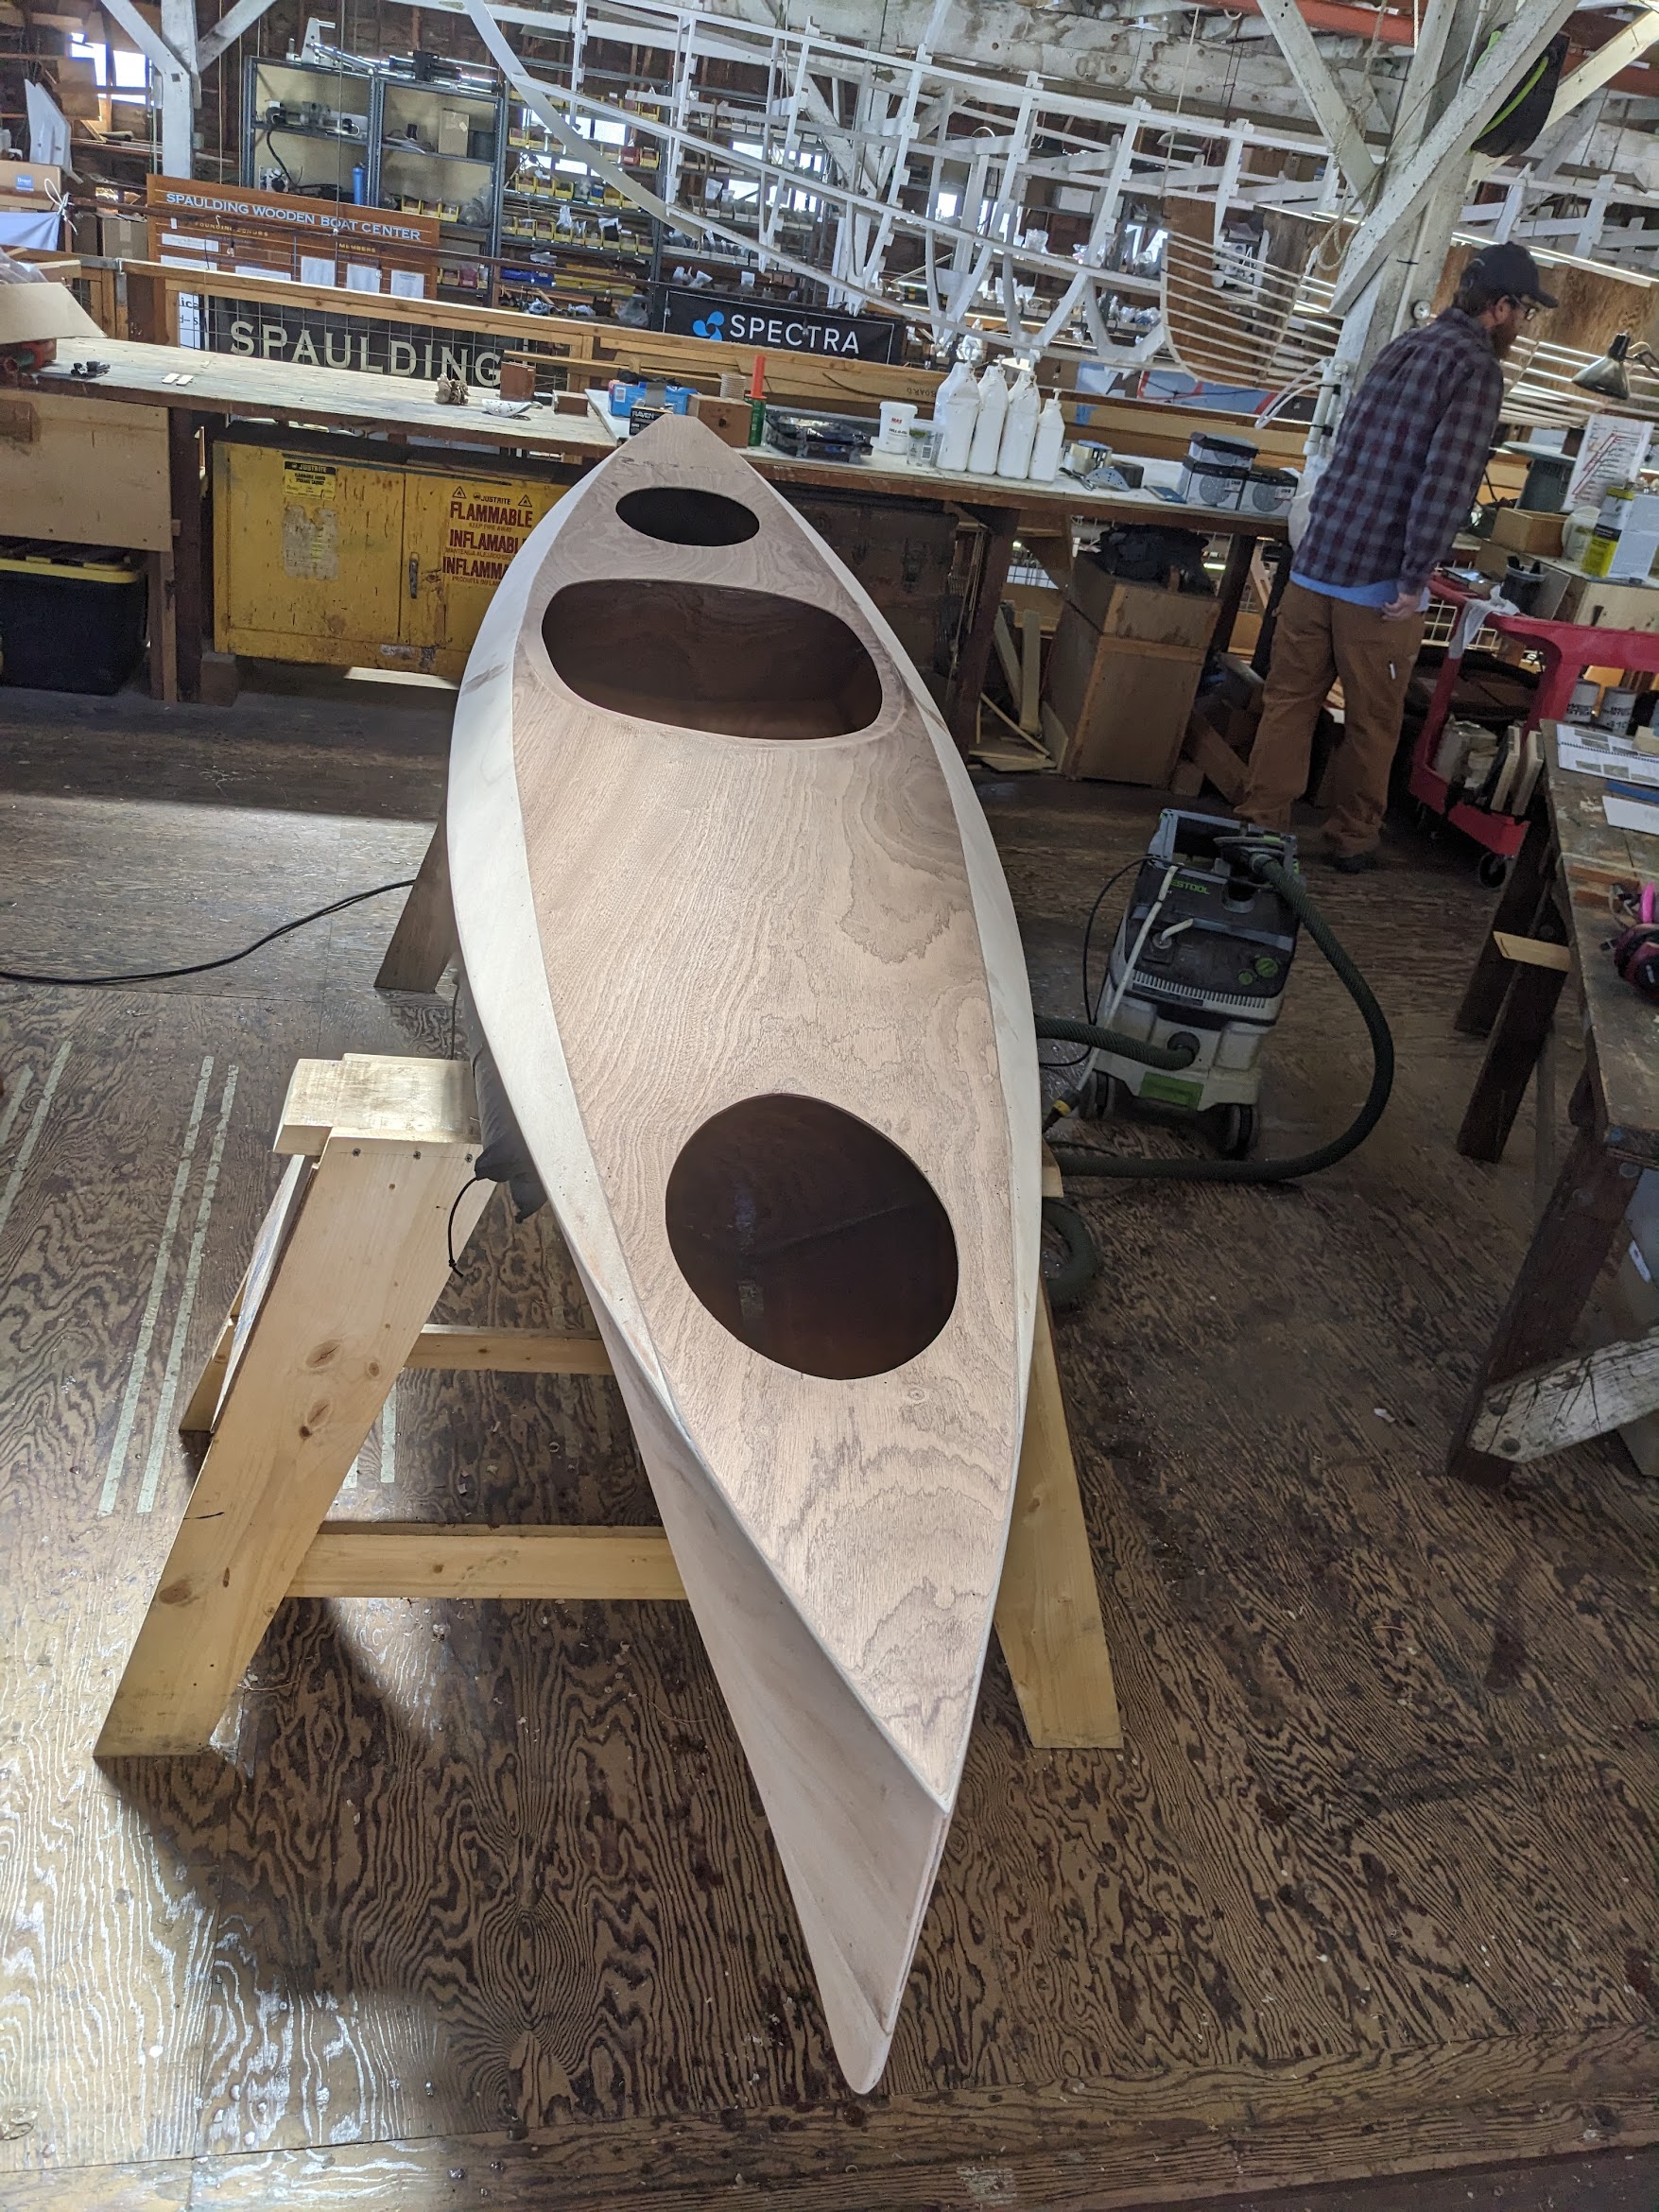
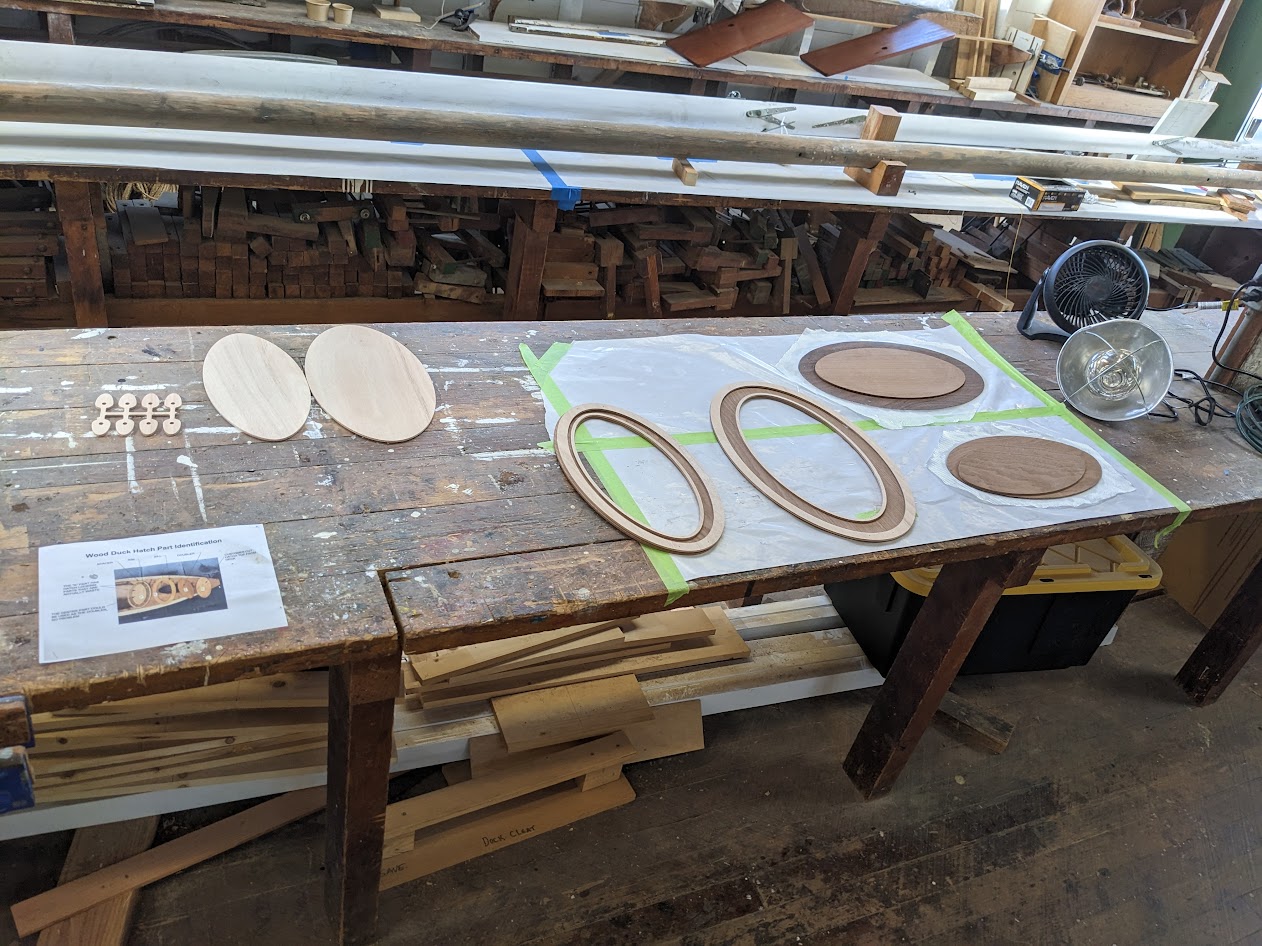
Hatch covers needed to be sanded and glassed the same as the deck. My jigsaw cuts were a little off by 1/16" but should still fit well after sanding to get the oval shape right. The pieces that were cut out are being reused. The wood grain will match and the covers will be flush with the deck.

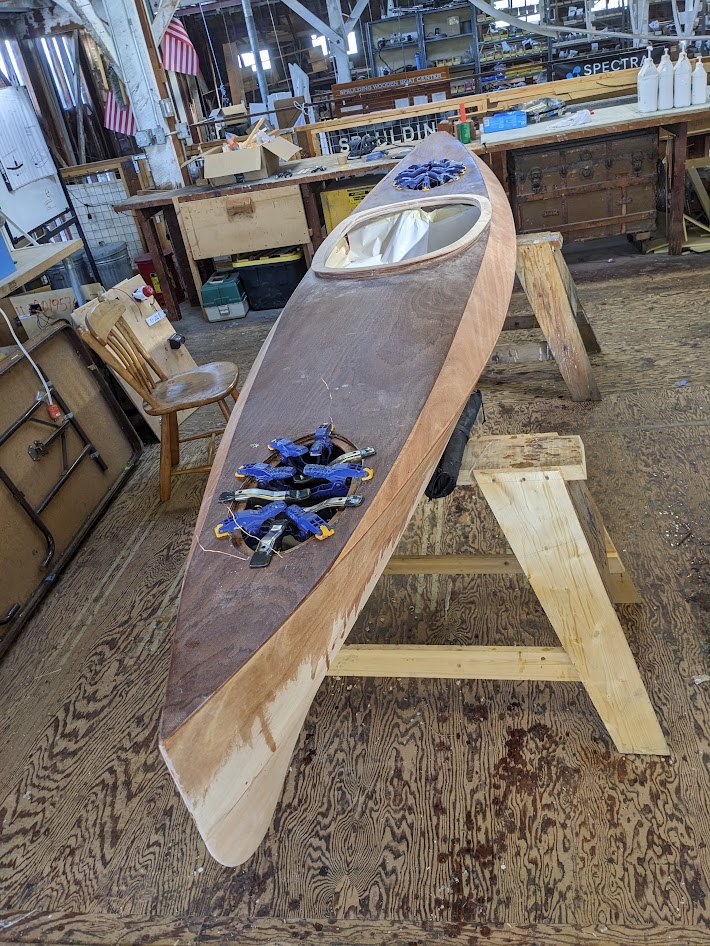
We glassed the deck with the fiberglass overhanging the shear by 2". When the hull is glassed, we will cut at the shear and sand.
While the deck glass was curing, we used thickened epoxy with silica to put in the combing. The chemical bond of the combing to the deck is important and better to be done while the fiberglass epoxy is still curing. A little tricky getting lined up just right. Lots of clamps needed. Thank you Stephen! That deck color is what the final colors will look like after varnishing. Starting to look really nice. Took some extra time to remove the clamps one by one to clean up the squeeze out thickened epoxy that is white with silica and very hard to sand later.

End of day progress is good with the deck done, combing installed and hull ready for a final sanding and glassing on Monday.
-
Day 7
Removed the combing clamps, used a rasp to remove any silica hardened epoxy. Cutout fiberglass cloth around hatches and sanded. Sanded the combing with 40 grit to take down inside edge of the combing.
The hatch pieces needed to be matched up and organized. The hatch ledges with a spacer are epoxied inside.
Clamped in the hatch ledges and cleaned up any excess silica thickened epoxy.
Flipped and sanded, sanded, sanded. A few words about sanding with the dust respirator and hearing protection on. With the hearing protection on, the sound that the sander makes with the three openings in the deck is like a musical instrument. The hollow droning sound is difficult to describe in words, "Woooda Wooooda Wooooda", but in a way I enjoyed myself while getting a good workout. My sanding technique was all wrong. I was doing a lot more work and not letting the sander do the work for me. The sides of the hull needed to be feathered with the lapped over fiberglass cloth. The technique to apply just enough pressure with 80 grit sand paper on the sander took some time for me to figure out. I was grateful when help was offered and we tag teamed the sanding of the hull to get it done. Sanded with 120 grit after the 80 grit quickly to get a good smooth surface for the fiberglass cloth.
We smoothed out fiberglass cloth over the hull and starting from the middle, worked our way to the ends squeegeeing with clear epoxy thinned with alcohol to wet the fiberglass cloth. The sides were tricky but the end results looked good.
The instructions call for 3 coats of epoxy resin over the fiberglass cloth. This will take more time than the class allows, we'll be finishing the final epoxy and varnish coats at home. I hammered together a couple saw horses on Sunday to get ready for the finishing work at home in the garage.
-
Very Nice!
Good work Matt!
 Posting Permissions
- You may not post new threads
- You may not post replies
- You may not post attachments
- You may not edit your posts
-
Forum Rules


 Reply With Quote